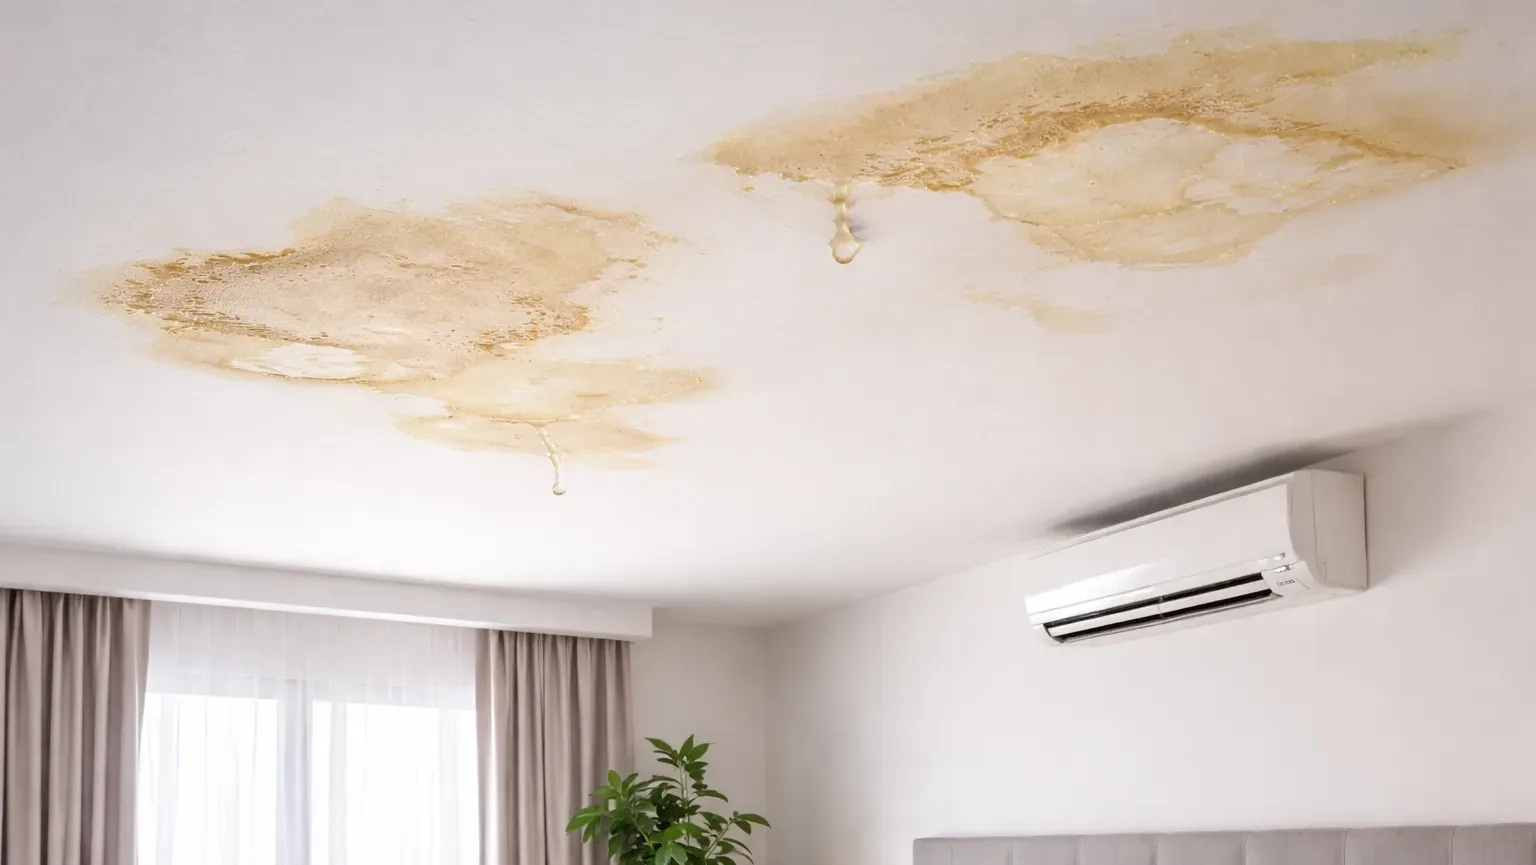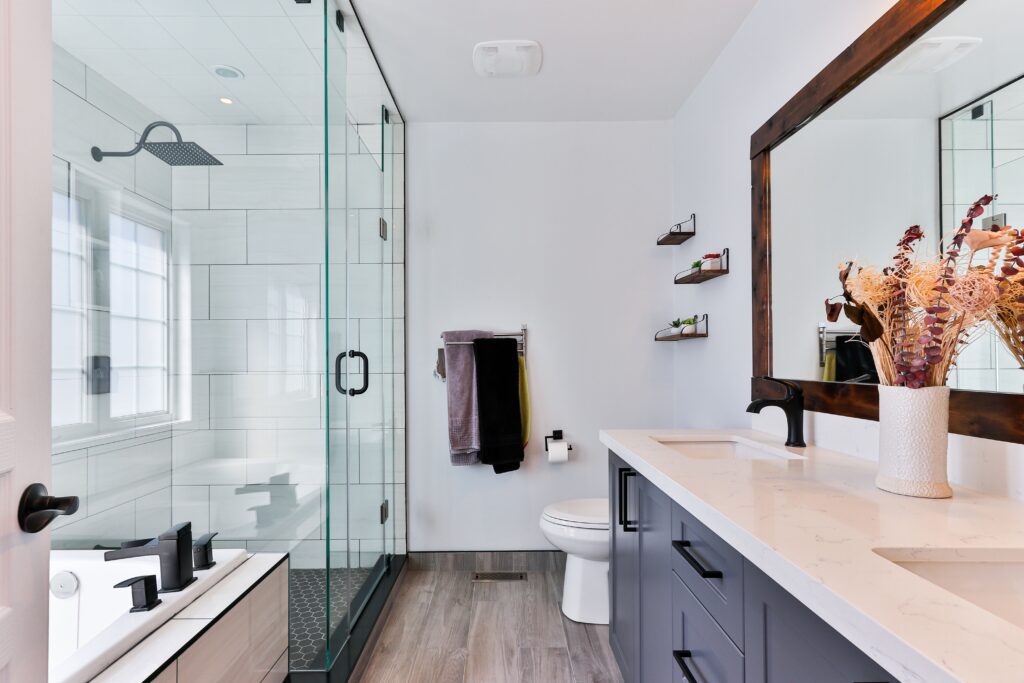
Year end is a special period in a year that motivates people for renovation, mostly for a good omen of starting ‘afresh’ from next year. Bathroom renovation is commonly brought up as the wear and tear in bathrooms are more common than other parts of the house. When renovating a bathroom, it is not uncommon for people to overlook the importance of waterproofing. The homeowner may simply tile or paint over the existing plasterwork in order to reduce costs. However, they did not consider the consequences in the long run, this is often an action that may backfire with even higher cost.
If you are on a budget and do want to save a bit of money on this job, the good news is that DIY bathroom waterproofing may be an option for you.
Here’s an easy guide for DIY bathroom waterproofing:
First of all, make a note of all the points in the bathroom where there is a high probability of leakage. This may include places like all the drainage line openings through the walls and floor, concealed water lines and buried PVC or GI fittings, pipe joints, wall and floor tile joints, walls near the shower area, bathroom door jambs and threshold fitting, joints adjacent to a shower tray or a bathtub and connection points of a wash basin, for example. Pay special attention to these points while doing the job to make sure they are properly sealed.
Step 1: This is a step you need to do thoroughly. Clean the walls and floor of the bathroom, removing all the dust and dirt. Then make sure the bathroom is completely dry and that there is no moisture on the walls and floors.
Step 2: Find a good quality DIY bathroom waterproofing kit. If you are clueless about which one to buy, do some research online and visit several hardware stores. An ideal DIY bathroom waterproofing kit should consist of:
Tanking membrane
Waterproofing acrylic primer
A tube of neutral core silicone sealer
Edging tape
Gloves
Brush
Step 3: Take the tube of silicon sealer included in the DIY bathroom waterproofing kit and run a bead along all the internal corners of the wall as well as the floor and give a proper finishing to it with your fingers. Do not forget to wear gloves while doing this.
Step 4: Using the paintbrush, apply a liberal coat of the tanking membrane to all the internal corners. Make sure you paint on the either side of the membrane and make the breadth of the patch approximately 200mm.
Step 5: Place edging tape along the length of each corner and smooth it down to bed it into the wet membrane. Ensure the tapes overlap by at least 150mm.
Step 6: Apply a second coat of membrane over the clog drains, around the taps and over every other penetration through the wall or floor.
Step 7: Apply a coat of waterproofing acrylic primer all over the surface of the bathroom including the walls and floor.
Step 8: Apply another coat of the acrylic primer in a 90 degree direction to the previous coat.
Step 9: Let it dry for at least 24 hours before doing any further work.
Home improvement DIY bathroom waterproofingAfter these steps, there are further precautions you can take to avoid bathroom leakage.
Apart from waterproofing, you should also make sure the slope of the bathroom floor is directed towards the drain in order to avoid water accumulation elsewhere, as this can also be a major cause for water leakage.
Also, select a waterproof paint for the ceiling and walls if you plan to paint the bathroom and get a vent or fan installed to eliminate moist air from the bathroom. Excessive steam can lead to moisture accumulating on the walls and eventually seeping through the walls and leading to algae formation.
(ref: https://homesales.com.au/news/latest/diy-bathroom-waterproofing-guide/)
Too complicated?
Hiring a professional waterproofing contractor or specialist to resolve your water leakage issues is an investment; Let us help you protect your household.
Call us today at +65 6677 2233 or email us at sales@securewaterproofing.com.sg and we will respond within 24 hours.